
I'm SO excited to show you today's project! One of my favorite things to do as a little girl was visit my Grandma's house. My Grandma is super creative and would spend hours with me making doll houses out of cardboard, fabric and her glue gun. So making a doll barn made me totally nostalgic and excited to spend time with my little girl playing with dolls. My daughter is four and loves to play with dolls but she really loves playing with the doll horses so I thought it would be fun to build her a house that her horses and dolls could live together.


I told Ana all about my doll barn dreams and she came up with a great plan to make it a reality! The barn fits perfectly on the library cubby base and it brings the house to the perfect height for play and gives some great storage space.
Start by building the bottom box. I used my kreg jig.

Then I added the middle board with pocket holes and screws. This is actually out of plan order but it was hard to fit the drill in if the top boards were already on.

Then add the very top level. I would suggest priming and painting this board before attaching it because it was so hard to paint in that little crevice after the barn was built!

Build the little side roofs.

Then screw in the top roofs and little scrap 1x6s for the barn details. The angles were a challenge and if you look close you can tell that they aren't totally perfect. Wood fill fixes little mistakes!

I sanded all my lumber with a belt sander before cutting it and then once the barn was built used my little mouse sander and 120 grit sander to get it nice and smooth. Then followed with a 220 grit sanding block to get the wood ready for painting and stain. I started by using Minwas Pre-stain and then staining the second level floors with Minwax Jacobean stain. This is the level the dolls live in so I wanted to have a wood floor look.

I primed the entire doll house with Zinsser 123 Primer including the back plywood piece. Once my back plywood was dry I held it to the back of the doll house and then traced around the inside of the rooms. I wanted to have fabric on the walls and figured it would be easier to glue on before nailing the plywood on. Once the rooms were traced I just painted some mod podge onto each section and then cut fabric a little bit bigger then my tracing and glued it on! I nailed the plywood on after I painted the whole barn and it was completely dry.

The white parts of the barn are painted with Valspar's Latex Enamel in Satin White finish. I painted the roof with Black Chalkboard paint because chalkboard paint is awesome on everything. The red is Behr Ruby Ring also in Satin Finish. I also put some Minwax polycrylic on my wood floors.

Love how it turned out! So excited for Christmas because I think my daughter is going to love it. I built the little couches too and will have a tutorial for them next week!

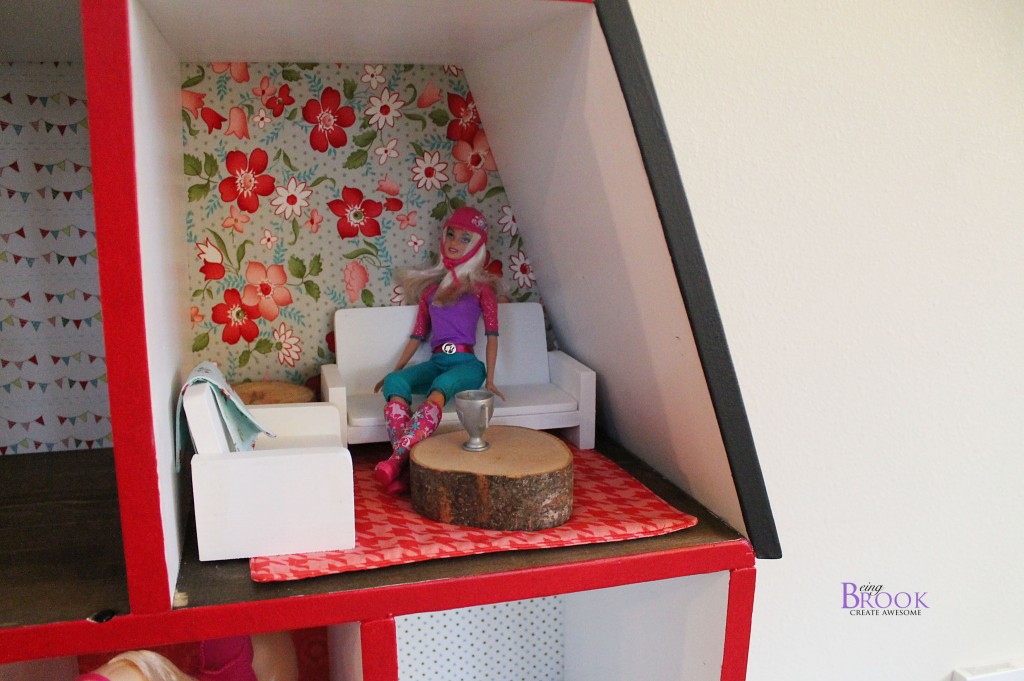
The coffee table and end table are just slices from some wood in my yard.

The three little bottom rooms are perfect for the horses to use as stalls. The horse here is one that comes with a barbie doll and is 10" tall.

Barbie doll resting after her big win!

Now I just need to work on some accessories and maybe some bedroom furniture for the dolls!


